Why Good Qassatat Begin at the Pastry Bowl
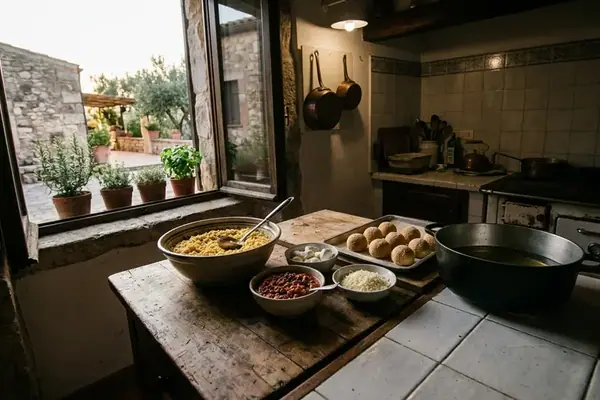
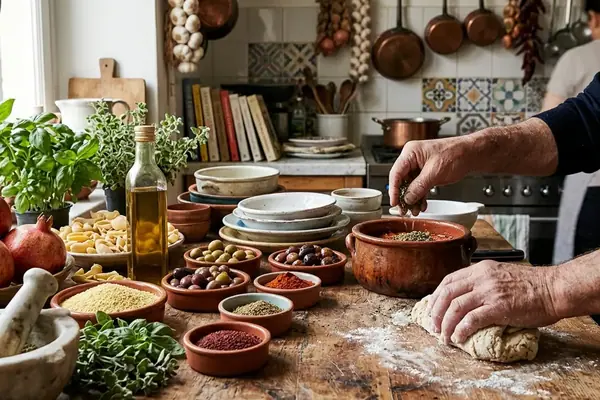
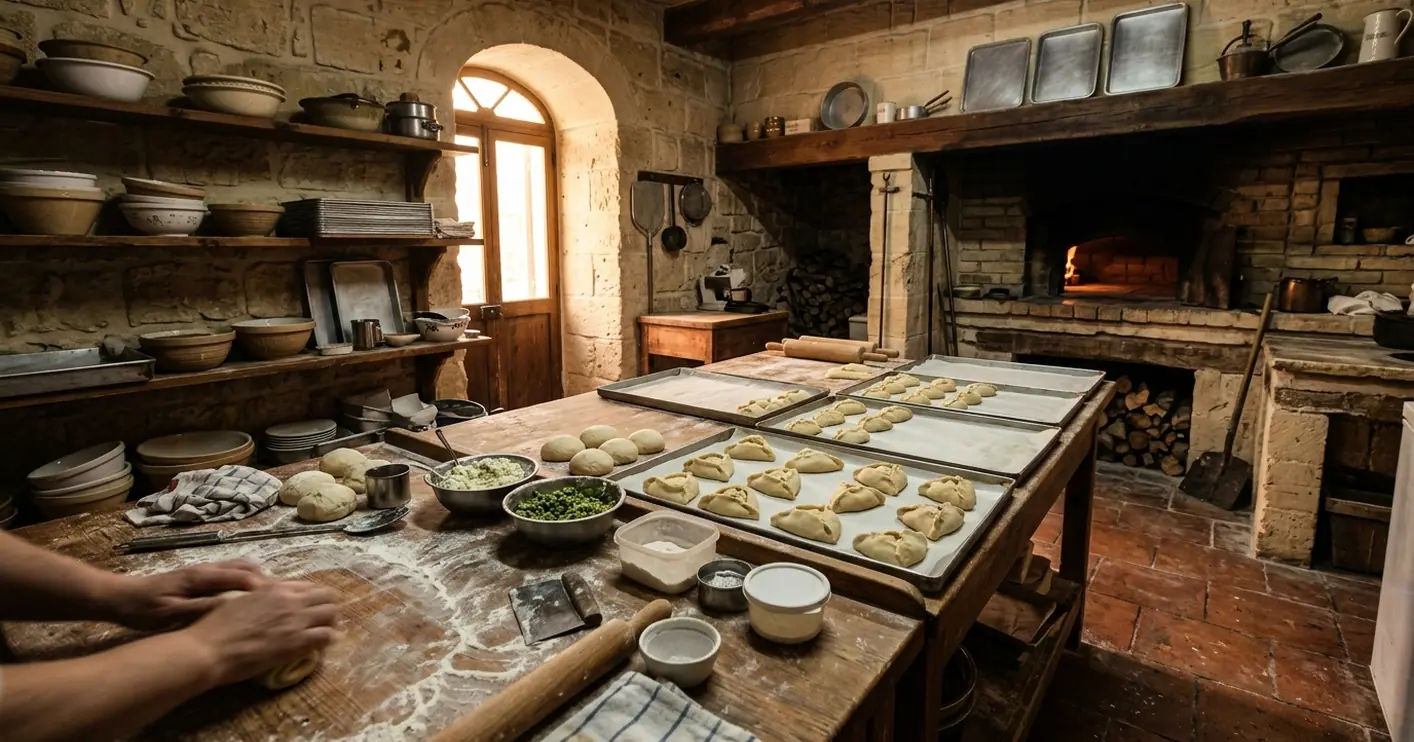
The useful qassatat bench has a clear direction. Rested dough sits under an inverted bowl on the left. Cooled pea and ricotta fillings occupy separate bowls in the middle, each with its own spoon. An ungreased, lined tray waits within arm’s reach on the right, so a newly shaped qassata travels less than 30 cm.
This arrangement answers the central question before the first round is rolled: leak-proof qassatat depend on controlling pastry texture, filling moisture and the pinched opening at each stage. The oven cannot repair a wet seam or an overstretched base.
Four checkpoints guide the work. Feel the dough after mixing. Test the filling before it touches pastry. Inspect the pinch before moving the shell. Check the colour beneath one qassata during baking.
Qassatat belong to the practical heart of Maltese home cooking, where pastry methods travel through families and change with kitchens, ingredients and hands. Nanette’s method offers one heritage-minded route through that living tradition, shaped by the realities of a Melbourne bench rather than presented as the single Maltese way.
The Leak Starts Early
Most leaks have already been decided before the tray enters the oven. Protect the pastry border from filling, and the final pinch has clean layers to grip.
Mix, Rest and Fold the Qassatat Shortcrust
Measure the quantities given in Nanette’s recipe and add them in their stated working order. This pastry method does not infer extra flour, liquid or fat. The important decision comes when the ingredients have gathered into dough.
Mix until the dough pulls together along the sides of the bowl. Press a thumb into it. The dough should hold the print without clinging to the thumb, even if its surface remains slightly rough. That is the stopping point.
Continued mixing develops a firmer shell, while handfuls of corrective flour can leave the baked pastry tough and more likely to crack around a fold. A slightly rough but cohesive dough usually settles during its rest.
- Gather the dough without kneading it heavily.
- Cover it with an inverted bowl or a lightly damp cloth.
- Rest it for 20–30 minutes, keeping the surface from drying.
- Roll it to roughly 3–4 mm once rested.
At that thickness, the pastry can carry a compact mound while remaining supple enough to form defined folds. Keep the pressure of the rolling pin even from the centre towards the edge. A thick centre makes the qassata heavy; a thin edge weakens the place that must hold the filling.
Share the Overlaps
When the rim is eventually gathered, repeat the folds evenly around the round. If two overlaps land in one quadrant while the opposite side has none, the shell expands unevenly in the oven. Balanced folds give the opening support from every direction.
Prepare Pea and Ricotta Fillings That Stay Put
The two fillings ask for different kinds of patience. Pea filling must lose its cooking heat. Ricotta must lose its excess whey.
Cool the Pea Mound
Cook the pea mixture until it becomes thick and spoonable. Draw a spoon through the pan: the channel should close slowly rather than flow together at once. Transfer the filling to the bench and allow 25–40 minutes for cooling. It is ready when the back of a hand held against the container detects no warmth.
A warm mound carries steam into the shell. In the first minutes of baking, that steam loosens the filling and pushes against the folds. The resulting pinch-seam slump is easy to recognise: a join stands upright while raw, then leans outwards as the pea filling heats.
Drain the Ricotta
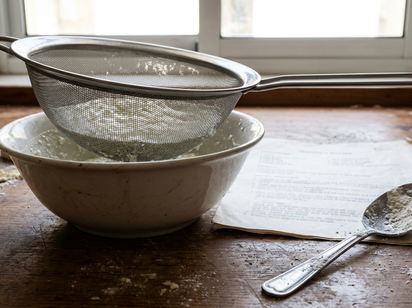
Set the ricotta in a fine sieve over a bowl and refrigerate it for 4–8 hours. Discard the collected whey. Stirring it back into the mixture returns the very moisture that the pastry seam cannot manage.
Season the drained ricotta evenly, using the ingredients and quantities in Nanette’s recipe. Mix only until the seasoning is distributed. The finished filling should sit on a spoon as a mound rather than spread into a loose pool.
For either filling, a heaped tablespoon forms the working portion for these rounds. Keep it as one dome in the centre. Spreading filling across the pastry increases contact with the border and makes the shell harder to close cleanly.
One-Spoon Test
Lift a portion and pause. Pea filling should remain thick after cooling; ricotta should hold its shape without releasing liquid. If either runs from the spoon, it is not ready for pastry.
Shape the Open Shell and Pinch It Securely
Divide the rested dough into equal pieces by weight. Eyeing the portions may seem quicker, but uneven pieces create a mixed tray: some rounds become too thin, while others leave a heavy ridge around the opening.
Roll each piece into a round about 11–12 cm across and roughly 3–4 mm thick. Run a fingertip lightly over the centre and edge. Both should feel even, with no translucent patches, dry cracks or ridges left by the rolling pin.
Protect the Two-Centimetre Border
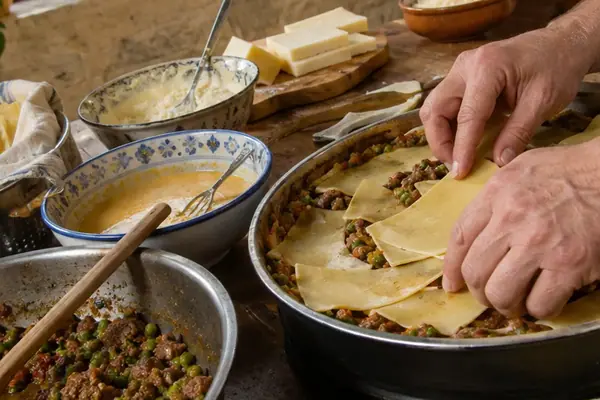
Place a heaped tablespoon of filling in the centre and leave roughly 2 cm of clean pastry around it. Once filling touches this outer ring, the pastry layers struggle to bond. A deeper pinch cannot undo a greasy or wet smear.
Leave the mound alone after placing it. Work only with the rim:
- Lift one section of the clean edge towards the filling.
- Gather the neighbouring section to create a small upright fold.
- Pinch through both pastry layers to a depth of at least 1 cm.
- Continue around the mound, spacing the gathers evenly.
- Keep the centre open and the filling contained below the rim.
The fingers should compress two full layers, rather than catch the top few millimetres. A shallow decorative pinch often looks tidy on the bench and opens once the pastry begins to expand.
Inspect Before the Tray
Hold the shaped qassata under direct light and check three places: the filling height, the clean border and the depth of every join. Turn it slightly to inspect the base as well. Press a small tear closed with a fingertip of dough before moving the shell.
- Overfilled centre: remove a little filling without dragging it across the rim.
- Smeared border: clean the pastry before gathering the folds.
- Shallow pinch: reopen that small section and grip both layers more deeply.
Bake for a Crisp Base and Diagnose Any Leaks
Use the oven setting and bake window stated in Nanette’s recipe rather than replacing them with a generic temperature or duration. Oven behaviour changes with fan circulation, tray weight and even a humid Melbourne summer, so the clock serves as a prompt to inspect the pastry.
Arrange the qassatat with 3–4 cm of bare tray between them and around the tray edge. This space allows hot air to reach the sides. A crowded tray traps steam, softens the lower pastry and delays base colour.
Place the tray on a shelf in the lower third of the oven. A position near the top can brown the folds while the underside remains pale and slightly damp.
Lift One and Look Underneath
At the early end of the recipe’s bake time, lift one qassata gently with a palette knife. Look for a coloured, set base. If the underside remains pale or damp, return the tray to the oven even when the upper folds appear attractive.
The other signs arrive together: the shell feels set, the folds remain defined and the filling stays inside the opening. A split beside the mound usually points back to a thin spot or overfilling. A leaking join more often traces to filling on the border or a pinch that caught too little pastry.
After baking, leave the qassatat on the tray for 8–10 minutes. The filling firms during this short rest. Moving a piping-hot qassata can pull its softened pinch sideways and spoil an otherwise sound shell.
Use One Pea and One Ricotta Qassata as Your Models
Begin the batch with exactly two shells: one pea and one ricotta. This pair takes about two minutes to inspect, while the tray itself needs 25–35 minutes in the oven.
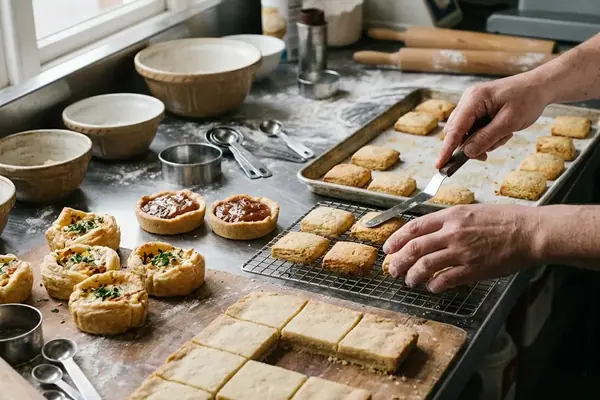
Set them side by side. Compare the pastry thickness and filling height. Check that each 2 cm border stayed clean, then look for upright pinches that grip both layers. Turn both qassatat base-up and examine the undersides for thin patches or small tears.
The pea model reveals whether the cooled filling sits as a compact dome. The ricotta model shows whether draining produced a mound that remains clear of the seam. Together, they expose a repeated shaping fault before it spreads through the batch.
Shape These First
Make one pea qassata and one ricotta qassata now, inspect their bases, borders, filling height and 1 cm pinches, then use the corrected pair as the pattern for every shell left on the bench.