The Foundations of a Sicilian Classic in a Melbourne Kitchen
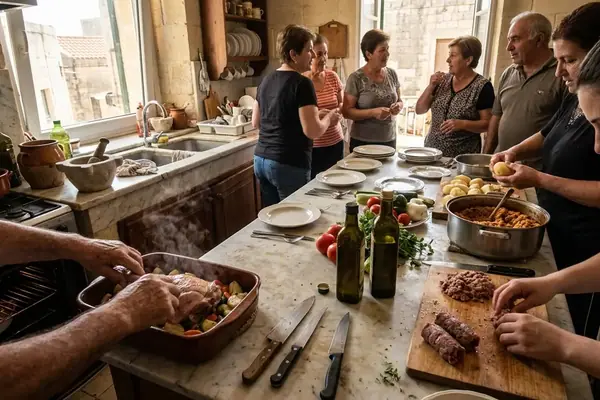
Sicily possesses a long, rich history of rice cookery that eventually evolved into the portable, filled, and fried dish we recognise today. Across the island, these golden spheres and cones are deeply associated with celebrations, bustling bars, and busy home kitchens. The shape, name, and filling vary significantly depending on where you stand. Round arancine are strongly tied to Palermo, while the distinctive cone-shaped arancini are the pride of eastern Sicily.
This method focuses entirely on what a Melbourne home cook actually needs before touching a pan. A practical home approach builds around a thick ragù, sweet peas, and melting cheese, setting up a reliable foundation without presenting one regional version as the only authentic form. Four conditions carry the whole recipe: rice cooked until it mounds, filling chilled completely through before shaping, a shell compacted with no visible seam line, and frying oil held steady in the 170–180°C band.
A first batch runs roughly three hours end to end. About 1.5 to 2 hours of that time is dedicated to the unattended cooling of the rice and the ragù, a mandatory phase for structural integrity.
Selecting Structural Ingredients for the Shell and Centre
Organising the ingredients by the specific job each one performs helps prevent the structural failures that often plague first-time attempts. Select a short- or medium-grain risotto rice that releases enough starch to bind the shell together. The rice requires a flavourful stock and optional saffron for aroma. The centre demands a highly reduced ragù, peas, and a specific type of cheese. The exterior relies on a simple flour-and-water batter and fine breadcrumbs, all cooked in a neutral frying oil.
The ragù must pass a strict thickness test. A spoonful mounded on a cold plate should hold its edge for 30 seconds without a watery ring spreading out from the base. For the cheese, caciocavallo offers a distinctly Sicilian character. Low-moisture mozzarella serves as a highly practical alternative that melts beautifully without releasing excess water. Cutting the cheese into 1.5 cm cubes, weighing roughly 10–12 g per arancino, keeps the melt contained. Larger pieces push the rice wall thin from the inside and threaten the structural integrity of the shell.
Moisture Control StrategyFresh mozzarella torn straight from its brine releases enough water during a 3–4 minute fry to steam the rice wall from the inside and burst a well-made seam. The failure looks identical to a shaping error, which sends cooks chasing the wrong fix.
The batter for the shell needs a thin-cream consistency. Whisk roughly 100 g of plain flour into 130–150 ml of cold water, then rest the mixture for 10 minutes so the lumps fully hydrate. Fine dry breadcrumbs, known as pangrattato, grip this batter securely. Panko flakes leave gaps at the seam where oil can penetrate during the fry.
For a meat-free variation, swap the ragù for a thick tomato-and-pea base reduced by roughly a third. Cook this base with a bay leaf and cool it using the exact same method. Treat this as a distinct variation in its own right.
Simmering and Cooling the Rice Base
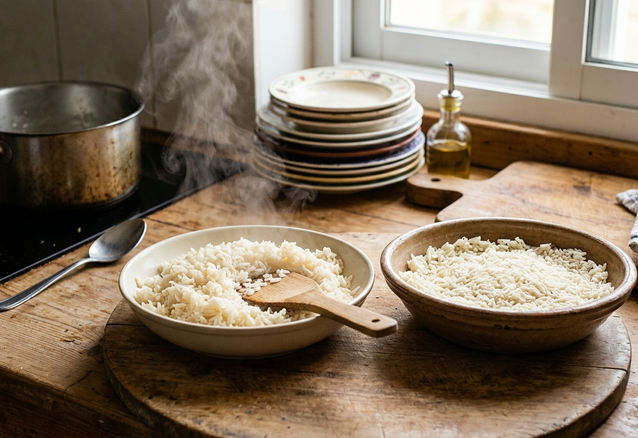
The cooking method directly addresses the common issue of batches splitting in the oil. The working method requires rice simmered in seasoned stock until it becomes tender and cohesive while absorbing the liquid. This creates a tight base, distinct from a loose, flowing restaurant-style risotto. A spoon dragged through the pan should leave a clear path, and the rice should mound up easily.
Use a liquid ratio of roughly 2.2 parts stock to 1 part rice by volume, adding all the liquid at the start. A 500 g batch of rice yields about 12–14 arancini, weighing 110–130 g each. Simmer the covered pan for 16–18 minutes, then uncover it for 2–3 minutes to drive off any remaining surface moisture. If using saffron, steep a generous pinch of 0.1–0.15 g in 60 ml of the hot stock for 10 minutes before adding it to the pan. This technique draws out significantly more golden colour than crumbling dry threads directly into the rice.
Spread the cooked rice no deeper than 2 cm on a shallow tray. Placing the hot rice in a heaped bowl traps steam, causing the underside to turn wet within 20 minutes. Cool the tray for at least 2 hours until fridge-cold, or cover and refrigerate for up to 24 hours.
Overnight-rested rice shapes tighter than same-day cooled rice because retrograded starch firms the grain surface—a batch shaped after only 45 minutes of cooling can behave completely differently from one shaped the next morning using the identical recipe.
Engineering the Filling Cavity and Crumb Coating
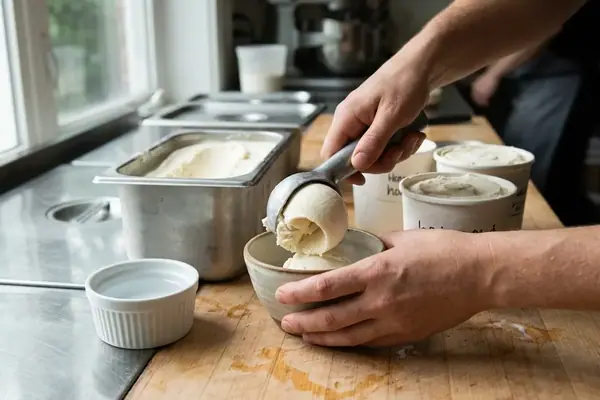
Shaping relies on a specific hand-position sequence to ensure the seams remain closed in the hot oil. Dampen your hands lightly. Portion the cold rice using a scale or an ice-cream scoop, aiming for 100–120 g of rice per arancino. Flatten the cold rice in your palm to an even 1 cm disc. Hollow the centre with your thumb while keeping the edges intact to create a shallow cup with an even base.
Add a compact spoonful of cold ragù, a few peas, and a piece of cheese, totalling 25–30 g of filling. Leave enough clean rice around the edge to form a secure seal. Close the rice over the filling, press out any air gaps, and rotate the arancino between both hands until the surface is completely compact. Keep the rice wall at 1–1.5 cm all around. Below 1 cm, the shell blisters and splits; above 2 cm, the centre never gets properly hot during the frying window.
When forming cones, build a base of about 6 cm across and pinch the top over roughly 3 cm of clean rice. Without this solid foundation, the tip unravels as it browns.
The batter-and-crumb shell only sets properly if the rice going into it is fridge-cold. Shaping warm rice softens the batter on contact, causing the crumb to slide off in the oil regardless of how carefully the seam was closed. Once breaded, rest the pieces for 20–30 minutes in the fridge on a tray. The batter sets against the crumb, and the shaped rice re-firms after absorbing warmth from your hands.
Melbourne kitchens working in a humid February evening will find breaded arancini soften on the tray faster than in a dry winter kitchen—the 20–30 minute fridge rest is doing real work, not just filling time. Breaded arancini hold in the fridge for up to 12 hours before frying. Alternatively, freeze them solid on a tray, transfer to a bag, and fry directly from frozen by adding two extra minutes to the cooking time.
Managing Thermal Mass During the Fry
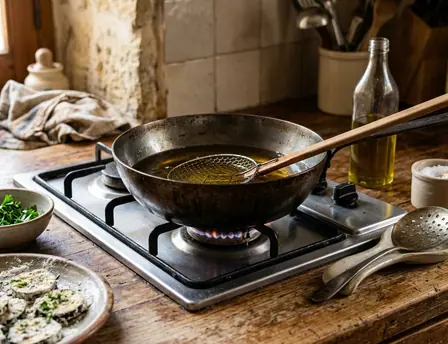
Frying decisions prioritise oil recovery alongside the initial temperature. Use a deep, heavy-based pot that holds heat effectively when cold arancini enter the oil. Fill the pot with enough neutral oil to reach a depth of at least 8 cm, allowing the arancini to move freely above the base. Never fill the pot more than halfway.
Maintain an optimal working range of 170–180°C. Test the readiness through observable behaviour: a dropped breadcrumb should surface and bubble steadily within 2–3 seconds. If the crumb browns in under one second, the oil is too hot. Sunflower, rice bran, or peanut oil all provide the necessary high smoke point. Extra virgin olive oil smokes below this working range and degrades quickly.
Fry in small batches of two or three arancini in a 24 cm pot. Crowding cools the oil, softens the coating, and causes the pieces to knock into one another. Fry fridge-cold pieces for 3–4 minutes, and frozen pieces for 5–6 minutes, turning them once or twice for even colour. Let the oil climb back to temperature for 60–90 seconds between each batch.
Diagnosing the First Batch Out of the Oil
Treat the first arancino out of the pot as a diagnostic tool for the rest of the batch. The remaining rice is still shapeable, and the oil is still hot, allowing you to adjust your technique immediately based on what the cut section reveals.
Let the fried arancini settle for 5–8 minutes before cutting. The centre comes off the heat near 90°C and requires this brief resting window to become edible while the crust stays crisp. Look for an intact crumb shell, a cohesive rice layer, a centred pocket of ragù and peas, and melted cheese that has stayed within the cavity.
If the rice layer appears too thick, enlarge the filling cavity in the next piece. If the shell feels fragile, compact the rice more firmly and reduce the volume of the filling.
Reading the Cut Section: What Went Wrong and What to Change Next Piece
| What you see or hear | Most likely cause | Fix on the next arancino |
|---|---|---|
| Shell split in the oil, filling leaking | Rice still warm or damp when shaped; seam not rotated closed | Chill rice completely to fridge-cold; rotate and press seam firmly |
| Centre is cold or cheese unmelted | Rice wall thicker than 2 cm | Reduce rice wall to 1–1.5 cm and enlarge filling cavity |
Refrigerate any cooked arancini within 2 hours of frying and eat them within 2 days. To reheat leftovers, place them on a rack in a 180°C oven for 12–15 minutes, or in an air fryer at 180°C for 8–10 minutes. Microwaving turns the crumb leathery within 40 seconds.
For your first tray, will you shape the round arancine associated with Palermo or the cone-shaped arancini associated with eastern Sicily?