A Maltese almond macaroon belongs in the biscuit tin while its centre still feels slightly soft. Waiting for the dough to feel firm in the oven guarantees a dry, crumbly bite. Nanette approaches these biscuits from a home-kitchen perspective rooted deeply in Maltese memory, offering her family's method without claiming it stands as the sole traditional version. The doneness cue we rely on is tactile. The centre must still dip under light finger pressure when the tray comes out, while the rim has stopped giving way. Carryover heat from a hot metal tray keeps firming the undersides during the first few minutes of resting. The biscuit that feels entirely done in the oven reads as dry once cooled.
Selecting the Right Almond Grind and Ingredients
The ingredients are almond meal, sugar, egg whites, flavourings, and a finishing sugar. Nanette is holding back the quantities until she weighs out her working version and checks them against what she actually makes. Finely ground meal that falls through a standard kitchen sieve with only a few holdbacks gives a close, tender crumb. Coarser meal leaves visible almond grit and creates a more rustic, open bite.
Skin-on meal flecks the dough brown and reads nuttier on the palate. Blanched meal yields a paler biscuit where any sugar coating and the resulting cracks show up sharply. Egg whites are easier to judge at room temperature than straight from the fridge. The ingredient list will specify egg-white weight alongside the egg count, since egg sizes sold locally vary by several grams.
Working the Dough for a Flawless Surface
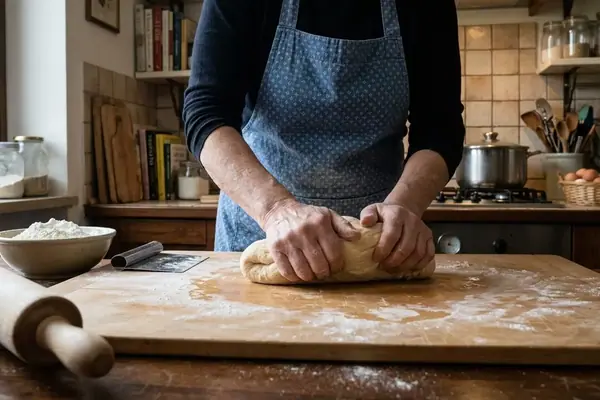
Mixing this dough relies entirely on feel. The dry ingredients go together first so the sugar distributes evenly through the meal. The egg white is then worked in just to the point where the mass holds when squeezed. Stopping there is a deliberate instruction. Extended mixing presses oil out of the almond meal and slackens the dough. A properly mixed portion rolled between the palms holds its ball and takes a thumbprint without the edges splitting into dry fissures.
Sticky dough requires resting the bowl for a few minutes so the meal absorbs moisture. Rolling the portions with lightly dampened hands prevents sticking. Portion the dough with the same spoon or small scoop for every ball so the tray bakes at a single rate. Space them with a clear gap of roughly a biscuit's width, because the dough slumps outward as the fat warms.
A sugar coating applied just before baking acts as a crack map. The white surface splits and the darker dough shows through where the biscuit has opened.
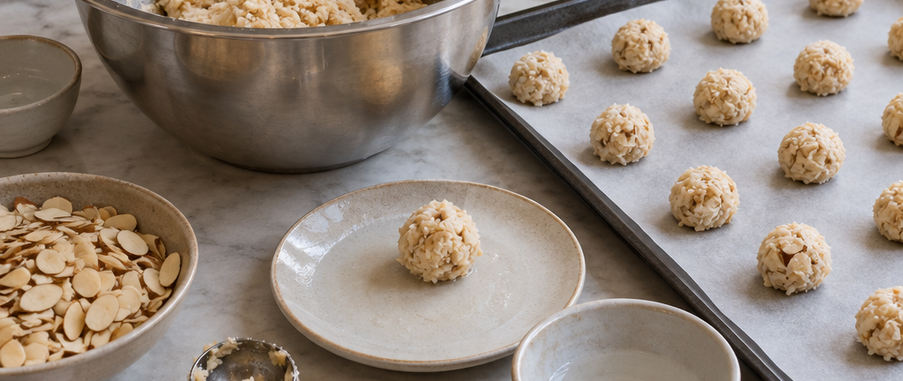
Tracking the Visual Baking Sequence
The oven setting and baking-time range distinguish fan from conventional heat. A fan oven typically needs the lower of the two temperatures for the same tray. Start checking at the early end of the range with the oven light on rather than the door open. The tray cools noticeably each time the door swings.
Fissures open across the sugar first, the rims lose their gloss second, and the middle is still yielding when the tray should already be out. This biscuit is pulled between the second and third signs, never after the third. Rotate the tray only if your oven browns one side faster, and do it once rather than repeatedly.
Test Batch Calibration A lone calibration macaroon only speaks for balls rolled to its own scoop size. Mix a large one into the same tray and its verdict stops travelling across the sheet. Let the test biscuit cool fully for around eight to ten minutes off the tray before judging it. A warm almond biscuit always reads softer than it will be in the tin.
Diagnosing Common Texture Issues
Home bakers occasionally encounter spreading dough, a lack of visible cracking, browned bottoms, or dry centres. Spreading dough indicates the mixture is wetter or warmer than it should be. Portion the tray and chill it briefly before it goes in. Little or no cracking often points to a dough rolled too loosely, a surface that was too wet to split, or an oven running below the set temperature. An oven thermometer on the middle shelf settles the question.
Browned bottoms with pale tops suggest the base heat is too intense. Move the tray up a shelf or slide a second cold tray underneath to buffer the heat. Dry centres with good colour mean the biscuits stayed in past the point the edges set. Take the next tray out one notch earlier on the timer and trust the carryover heat.
Managing the Cooling and Storage Phase
These biscuits leave the oven structurally soft. Leave the tray undisturbed until a biscuit releases cleanly from the paper when nudged with a palette knife. Lifting earlier tears the base. They set on the hot tray first, where the base firms enough to be lifted without the cracked top collapsing. They then move to a rack so air reaches the underside and steam does not condense into a soggy base.
Give them a good half hour to forty minutes on the rack, or longer on a humid day. Check the underside with the back of a hand. Any residual warmth means the tin can wait. Layer the cooled macaroons with a sheet of baking paper between tiers so the cracked tops are protected from the biscuits above. Close the lid only once the inside of the tin stays clear. A brief fog on the lid when it is set back on signals that something is still giving off steam. Biscuit-tin storage remains a practical home habit rather than a guaranteed shelf-life claim.
Establishing Your Baseline Batch
Shape the whole tray to one consistent size. Start checking at the recipe's early cue, pull one biscuit out, and let it cool properly. Break the cooled test biscuit in half rather than pressing the top. A good centre looks slightly denser and moister than the rim—with no raw, glossy seam through the middle. Write the time that worked on the recipe card beside the printed range, so the next batch starts from your oven's figure instead of someone else's. Favour a slightly soft centre over an extra minute of browning when deciding whether these macaroons are ready.