Why Ħobż tal-Malti rewards patience
A pale, tight loaf usually traces back to two or three rushed decisions—short fermentation, a lukewarm oven, or slicing while the centre is still hot. Nanette frames this guide around a single realization from home baking: the crust, not the crumb, is where most home versions fail. Ms. Gourmet approaches recipes from the kitchen first, meaning this is a home cook’s guide shaped by Maltese roots and Mediterranean baking habits.
We are aiming for a deeply crusted, rustic, sourdough-like loaf that is practical for a standard kitchen rather than a commercial Maltese bakery oven. Rely on clear sensory cues rather than bakery jargon to guide the dough from the mixing bowl to the baking stone.
What makes Maltese bread different from an ordinary white loaf?
The defining qualities of Ħobż tal-Malti stand apart from standard sandwich loaves. You are looking for a thick, rugged crust and a slightly irregular crumb. The bread carries a gentle acidity and remains sturdy enough to hold olive oil, tomatoes, cheese, tuna, or soup without collapsing.
Across Mediterranean baking traditions, household starters and old-dough habits differ from village to village. Rather than claim a single canonical recipe, treat Maltese bread as a family of methods. The target crumb is only lightly sour compared to a long-fermented San Francisco-style sourdough, and the crust runs thicker than Italian pane di casa. This is an authentic home approximation, not a reproduction of a wood-fired village bakery loaf. Some crust and crumb characteristics depend on ovens most kitchens simply do not have.
Ingredients and tools that matter most
Keep the ingredient list short. You need bread flour or strong plain flour, water, salt, and an active starter or old-dough-style preferment. A small portion of wholemeal flour can add flavour. Keep any wholemeal addition to roughly a fifth of total flour weight; beyond that, the loaf turns heavier than the classic target.
Equipment choices focus on what a standard Melbourne home kitchen already holds. You need a large mixing bowl, a bench scraper, a clean tea towel, and a cooling rack. Add a baking stone or heavy tray, plus a second metal tray for steam.
Important: A kitchen scale reading in single-gram increments matters more for salt and starter than for flour, where feel can correct small errors.
Build a lively starter before you mix the dough
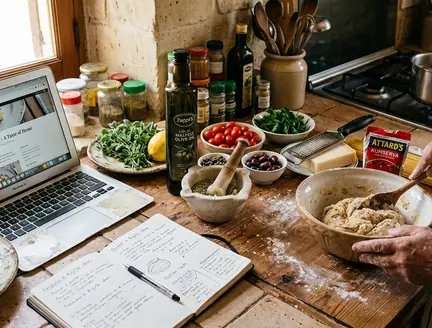
A healthy starter looks bubbly, expanded, and lightly tangy. It should never smell harshly alcoholic. From scratch, under typical conditions, feed equal parts flour and water by weight once daily. A reliable rise usually appears between day 5 and day 9 depending on kitchen warmth.
A ready starter roughly doubles within 4 to 6 hours of feeding at a warm room temperature of 22 to 24C and pulls into webby strands when stirred. For readers who already bake, reserve a small piece of fermented dough from one bake to seed the next. This old-dough variation adapts well to a home schedule.
Mix the dough until it feels strong, not stiff
Combine the starter, water, and flour first. Add salt after a short 20 to 30 minute rest of flour and water so the flour hydrates before the salt tightens the gluten. The target dough feels tacky, elastic, and slightly resistant. It should not feel dry like pasta dough, nor soupy.
Hydration guidance assumes a strong bread flour. The same water weight produces a wetter dough with plain flour than with strong bread flour, so adjust by feel rather than matching a number. Folding serves as a gentler alternative to aggressive kneading. Space three to four folds roughly 30 to 45 minutes apart during the first part of fermentation. This suits the tacky, higher-hydration dough and forgives home cooks who cannot judge kneading by hand feel yet.
Let fermentation create the flavour and crumb
Bulk fermentation is the stage where the loaf gains flavour, lightness, and structure. Privilege visible and tactile cues over fixed times. Home kitchen temperatures swing enough that any single stated duration would mislead more readers than it helps.
Bulk fermentation at 22 to 24C typically runs 4 to 6 hours. Expect it to stretch noticeably longer in a cool kitchen below 18C. Fold the dough during bulk fermentation to strengthen it without knocking out all the developing gas.
Field Note: The dough is ready to shape once it has grown by around a half to two-thirds in volume and shows bubbles near the surface.
Copyable checkpoints before each stage
- Starter has doubled and turned webby before you mix.
- Dough stretches without tearing after the last fold.
- Bulk dough has grown by half to two-thirds and shows surface bubbles.
- Shaped loaf looks puffed and springs back slowly when poked.
Bake hot enough to get the Maltese-style crust
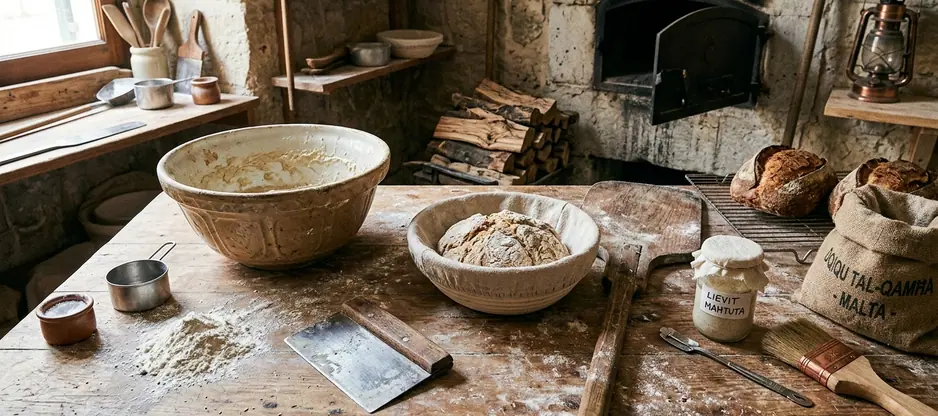
Preheat the oven with the stone or heavy tray inside for upward of 45 minutes, close to an hour, so stored heat carries through the bake. Just as a blind bake requires a thoroughly preheated environment to set pastry, this bread demands intense, immediate bottom heat to spring. A lukewarm oven causes a pale, tight loaf.
Steam strategy relies on what a domestic oven can actually deliver. Add hot water to a preheated metal tray in the opening minutes. That combination delays crust setting and allows the bread to expand. Bake hot, in the region of 230 to 250C, dropping the temperature after the first 15 to 20 minutes once steam has done its work. The loaf is done when the crust is deeply browned, blistered, and sounds hollow tapped underneath.
Cool it properly before you judge the crumb
The single most common wrong verdict home bakers reach is that a good loaf is gummy. The real cause is cutting before the crumb has set. Cool on a rack for at least an hour, or until the centre no longer feels warm to a hand pressed against the base.
Once cooled, serve with tomatoes, olive oil, kunserva, gbejna-style cheese, olives, tuna, capers, soup, or simply butter. Refresh stale slices in a hot oven for a few minutes. Freeze leftovers cut into thick slices rather than as a whole loaf for faster thawing.
Kitchen cue: Cool on a rack for at least an hour, or until the centre no longer feels warm to a hand pressed against the base.
A worked weekend bake
Lock these abstract cues to a real weekend rhythm. Feed the starter Friday evening so it peaks overnight or early the next day. Mix the dough Saturday morning, combining the flour, water, and active starter. Fold the dough three to four times across the day as it ferments on the kitchen bench.
Once the dough has grown by half to two-thirds, shape it into a tight round. Cold-proof the shaped loaf overnight in the fridge. A fridge proof of 12 to 16 hours deepens flavour and firms the dough for easier scoring the next day. Preheat the oven and baking stone early Sunday morning, score the cold dough, and bake immediately with steam. This cold-proof option works well for anyone who would rather bake on a calm Sunday morning than manage a late Saturday night oven session.