Why Homemade Ice Cream Texture Goes Wrong
I remember staring at a glossy, perfectly thickened vanilla custard, convinced it was destined for greatness. I poured it straight into the churner while it was still warm to the touch. Thirty minutes later, I had a soupy, granular mess. Most gritty, icy, dense, or buttery homemade ice cream problems come from handling errors before, during, or after churning.
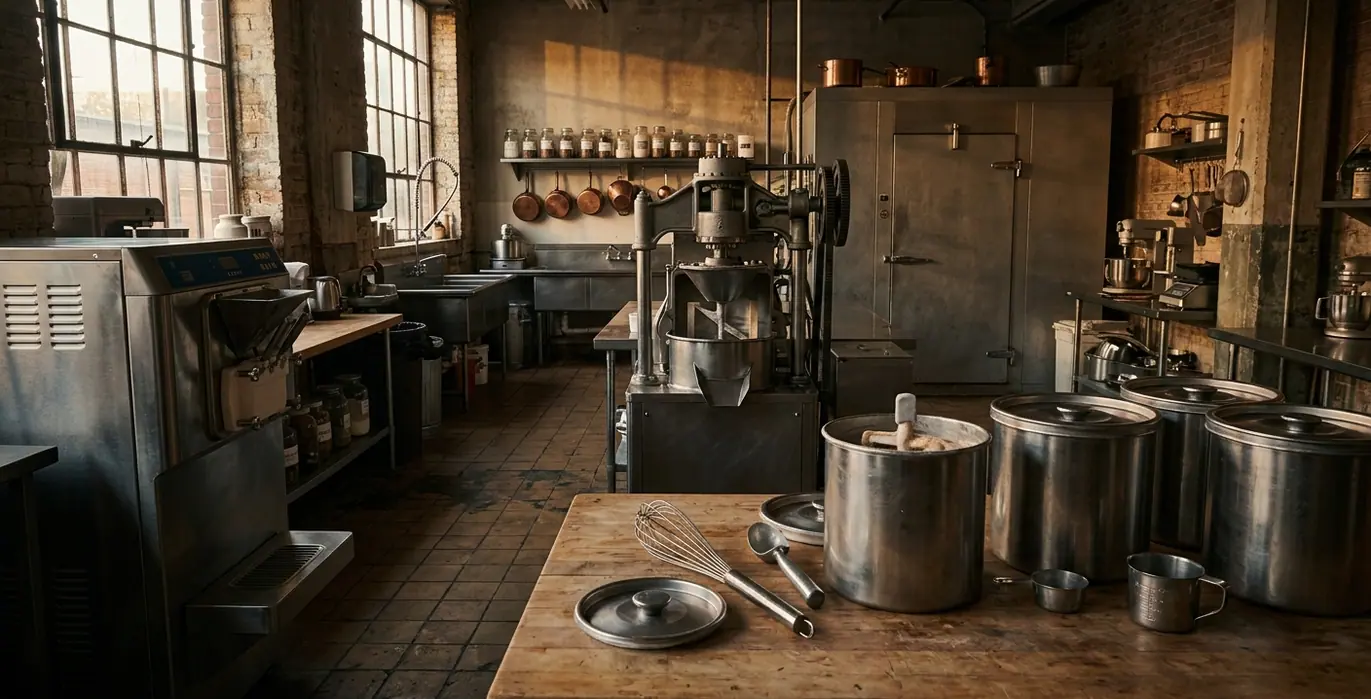
This is a kitchen guide for those of us using domestic ice cream makers. We are not running a professional gelato kitchen—texture is a chain. Base preparation, machine readiness, churning cues, mix-ins, and storage all matter equally.
A custard base that looks correct warm will only churn well once chilled to roughly 4°C. This temperature aligns with USDA guidance on refrigeration safety, but it also serves a vital structural purpose. Cold fat whips better. A guaranteed way to invite the dreaded soft foam that turns icy overnight is to skip this chill. That specific disappointment often appears during the first 8 to 12 hours or so of freezer storage.
Criteria for Choosing These Mistakes
How do we isolate the real culprits? I built this shortlist by excluding anything a home cook cannot judge by eye, hand, or spoon. Brand-specific dial settings and flavor debates are set aside. Instead, each candidate mistake had to produce a visible, tactile flaw.
We are looking for slushy bases, weak churns, overfilled bowls, rock-hard storage, and icy edges. The selection covers both freezer-bowl machines and small domestic compressor machines. These are the two formats most common in home kitchens.
Based on community experience, diagnosing a failure requires a baseline. These cues assume a working domestic machine—if a freezer bowl was stored less than a full 24 hours before churning, weak freezing is the appliance, not the recipe.
Scope: What This Guide Covers and What It Doesn't
A deliberate boundary keeps the advice honest. This guide covers domestic equipment only. Commercial batch freezers, Pacojet-style systems, and stabilizer-heavy production formulas fall outside this guide. Their freezing speed and additive load change the rules entirely.
We must also recognize that recipes vary. Custard, Philadelphia-style ice cream, gelato-style bases, sorbet, and dairy-free mixtures behave differently in the same machine.
Cooked custard should move toward refrigeration promptly and be chilled before churning. It should ideally rest in the fridge for at least 4 hours, and preferably overnight. This resting period allows the proteins to hydrate and the fats to crystallize, setting the stage for a smooth churn.
Ice Cream Maker Mistakes That Ruin Texture
The actual workflow follows the way a cook works. We start with base temperature, move to machine readiness, check the fill level, watch the churn cues, add mix-ins, and finally manage storage.
1. The Warm Bowl Slush
The mixture stays liquid or forms a weak, slushy puddle that never quite climbs the dasher. The freezing element lacks the thermal mass to freeze the base.
A freezer bowl needs a solid 24 hours in a domestic freezer set near -18°C before it will churn properly. A partly frozen bowl gives weak, slushy results. While this holds true for most standard dairy recipes, high-alcohol or heavily sugared bases may require even longer freezing times. A reliable habit is to keep the bowl in the back of the freezer permanently.
2. The Dense Overflow
The ice cream climbs the dasher, spills over the central column, and feels dense rather than fluffy on the tongue. Overfilling is the culprit.
Most domestic bases should be filled no more than two-thirds full to leave room for the air whipped in during churning. Measure your machine's actual capacity with water, calculate two-thirds, and never exceed that volume.
3. The Buttery Mouthfeel

The finished scoop leaves a greasy, sandy coating on the palate. This happens due to over-churning.
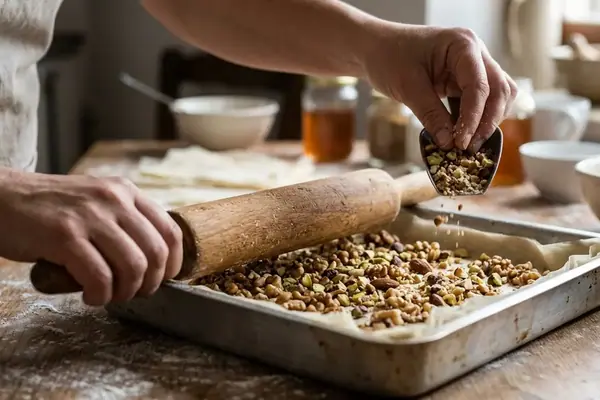
A typical home churn finishes at a soft-serve stage in roughly 20 to 30 minutes. After this window, over-churning can turn the fat buttery. Watch for the mixture to pull away from the sides of the bowl. Stop the machine while it is still scoopable. Dairy-free coconut and nut bases firm up harder and faster than custard, so a churn cue that looks 'too soft' for custard may already be perfect for them.
Texture Takeaways for Better Homemade Ice Cream
The path to excellent texture requires respecting the entire process. You need a cold base, a ready machine, a sensible fill level, correct churn cues, cold mix-ins, and careful storage.
My ongoing work with domestic recipe testing since 2019 shows that container geometry matters immensely. A vanilla Philadelphia-style base churned at the right cold temperature but stored in a wide shallow tub crystallizes faster than the same base in a deep narrow container. More surface meets the freezer air.
Important: Pressing a sheet of baking paper directly onto the surface before lidding limits the icy crust that forms during the first day or two of storage. The best storage window is brief. Stored ice cream eats best within 1 to 2 weeks; beyond that, even a good batch dries and crystallizes at the edges.
Bottom Line: If a batch turns icy, diagnose the whole chain rather than blaming the recipe or machine immediately.
Field Note: Keep a simple ice cream notebook noting base type, machine readiness, mix-ins, and texture the next day.